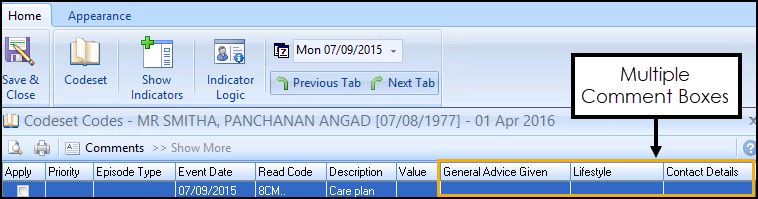
Adding Multiple Comment Boxes
You can have multiple comment boxes on the Codeset and Radio controls within a template. This is particularly helpful if you want to record different types of comments such as drug information or care plan details.
To add multiple comment boxes:
- Open Template Designer:
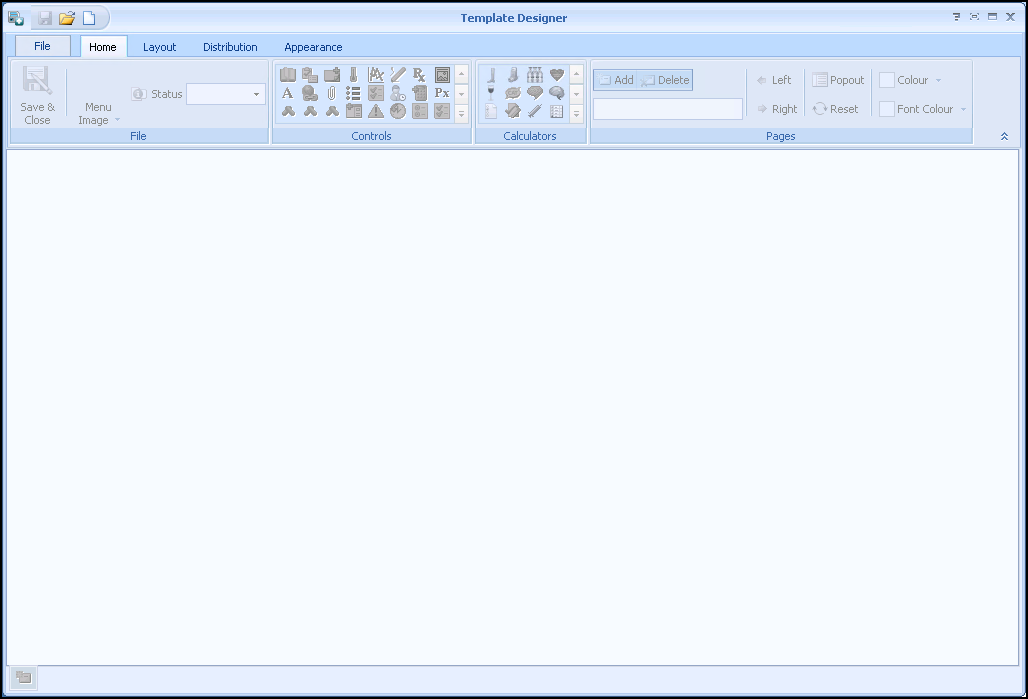
- Select either Add Codeset Row
 , Add Radio Group Row
  or Add Code Check Group Row
  .
. - Type a description for example Care Plan and select Codeset .Note - In this example we are adding a Codeset row.

- The Code search screen displays. Type the search term, select Search and select the Clinical term from the list.
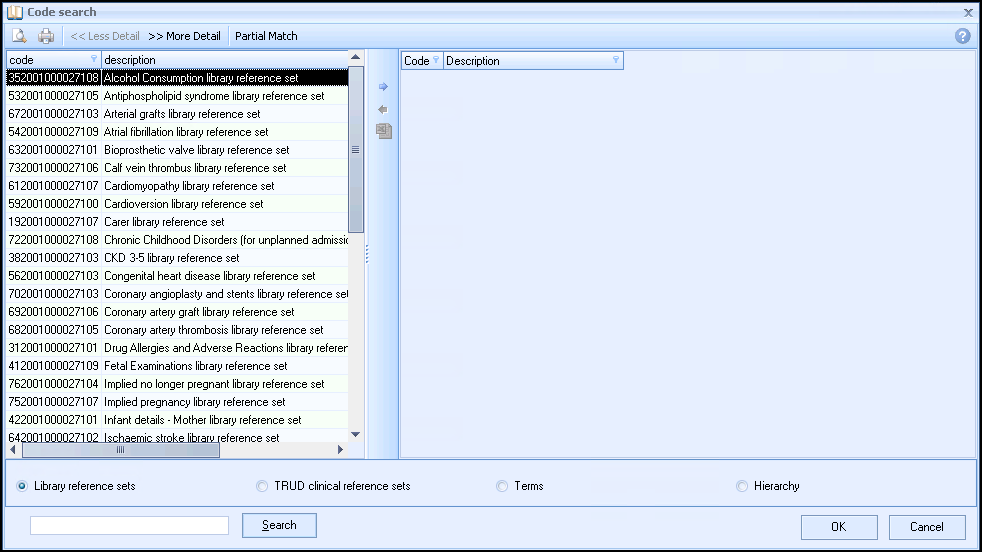
- Select OK to save the changes.
- Select User Defined Comments
 .
. - The User Defined Comments screen displays.
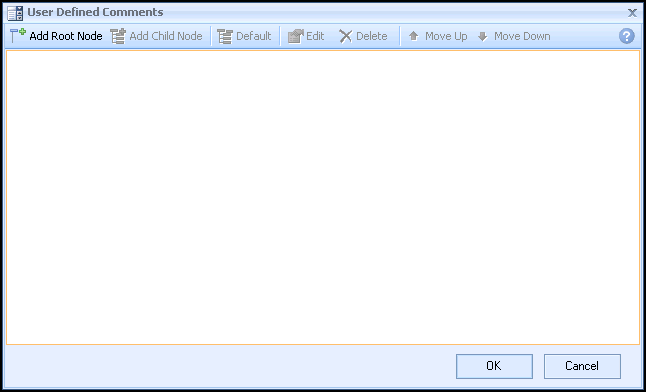
- Select Add Root Node
 to create multiple Comment boxes. To add sub topics to the Comments, select Add Child Node
  .
. - Once you have selected your Comment boxes and sub topics, highlight either Comments or New and select Edit
 to rename them:
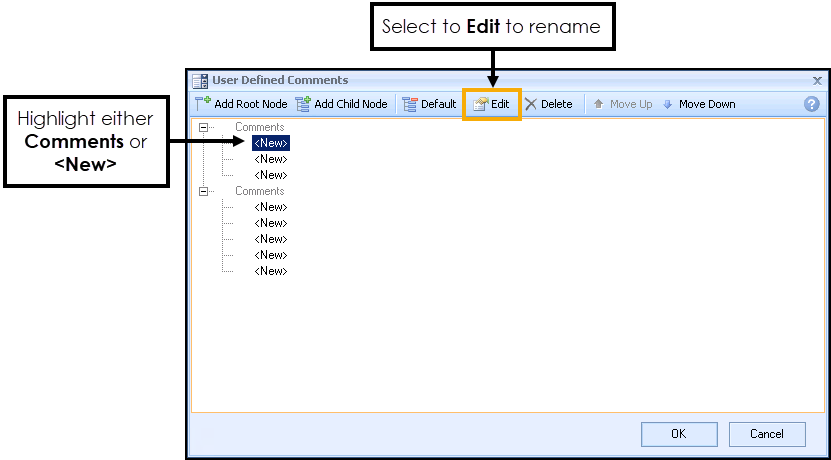
In Summary, the following options are available:
- Add Root Node - Adds a comments box.
- Add Child Node - Adds a sub topic to a comments box.
 Default - Makes a Child Node (sub topic) the default so that it is automatically selected when the code is applied.
- Edit - Allows you to rename the comments or sub-topic headings.
 Delete - Deletes the comments box or sub topic.
 Move Up/Move Down - Allows you to change the order of the Comments box (which automatically moves any sub topics within it).
- Select OK to save the changes.
- Select Save and Close
 on the toolbar to save the template.
How to Record Data using Multiple Comment Boxes
- In Consultation Manager, select a patient.
- From the Windows Notification Area, right click Vision+
 and select Clinical Templates:
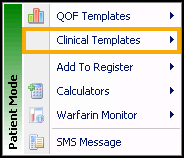
- Choose your new Template.
- Select Codeset .
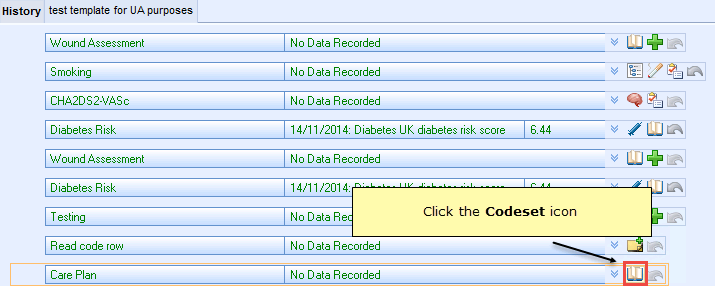
- The multiple Comment boxes display and you can select the sub topics within them (or free-text any additional comments).
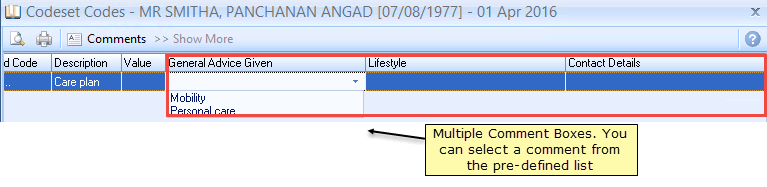 Note - Where a sub topic has not been defined you can freetext your comments.
 - Once the data is recorded select OK then Save and Close to save the template.
- The information recorded in the comments box displays alongside the clinical term with the comments heading and the sub topic prefixed with an equal sign (=). Where you have not changed the Comments heading you just see the free-text comments.

Note – To print this topic select Print  in the top right corner and follow the on-screen prompts.