Creating Patient Groups
You can now create a patient group in Vision 3 from the scanned barcode documents.
To create a patient group in Vision 3:
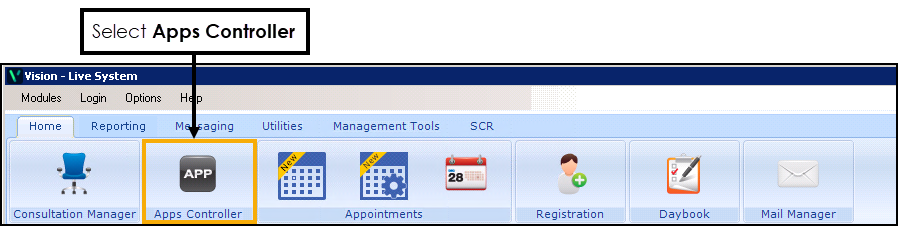
- From the Vision 3 front screen, select Apps Controller:
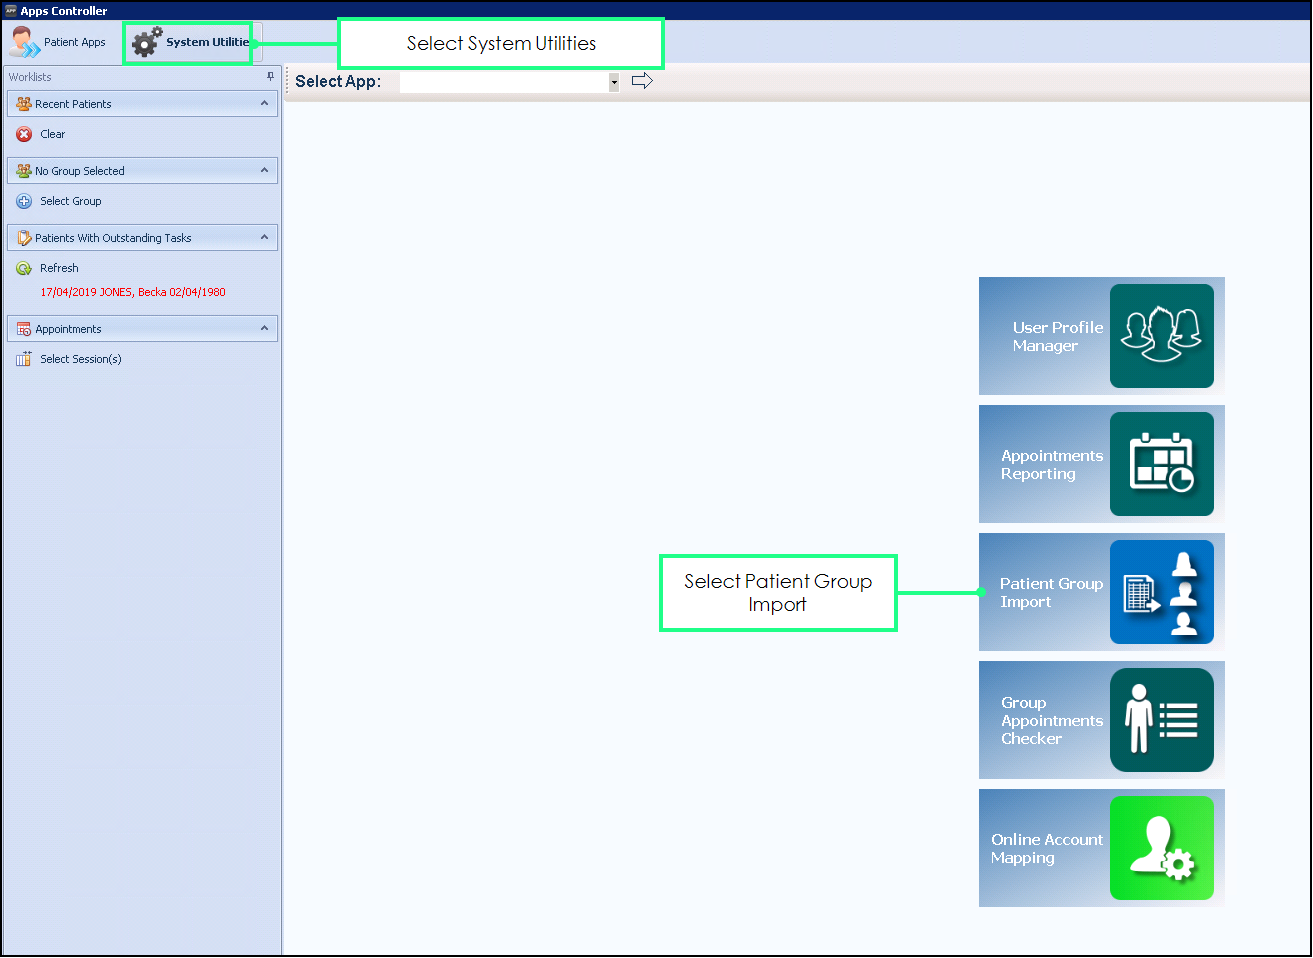
- Select System Utilities and Patient Group Import:
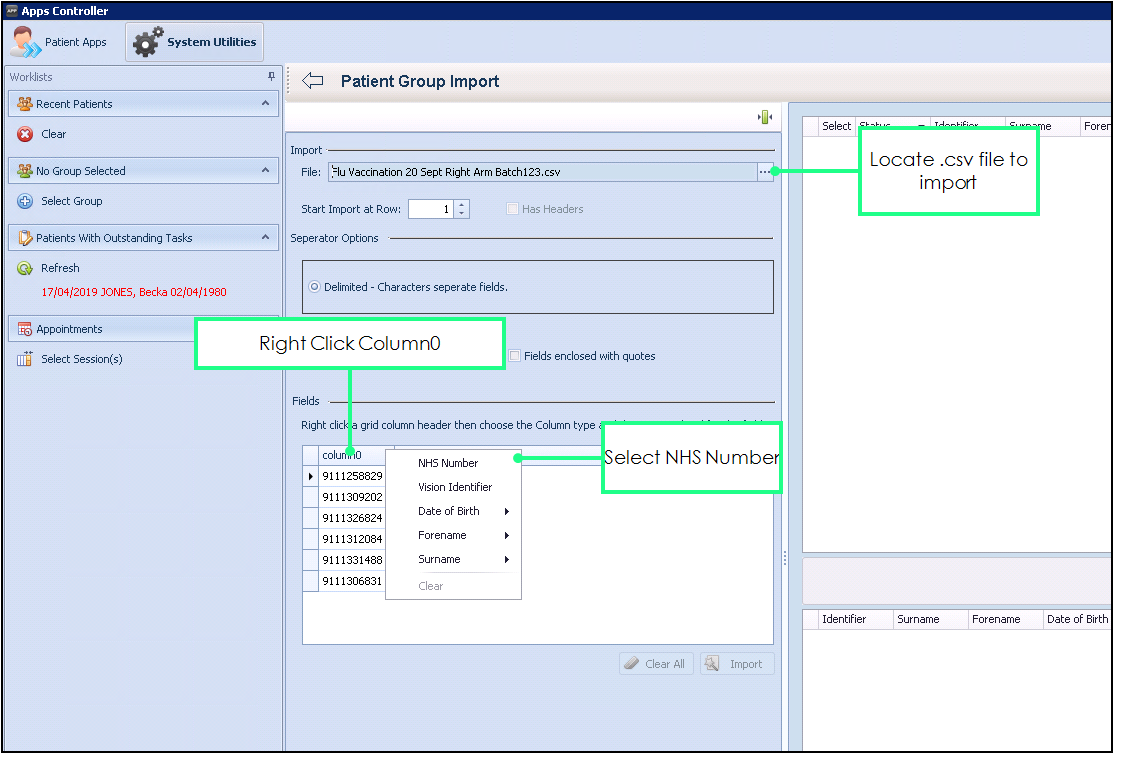
- From the Patient Group Import page, select the three dots at the end of the Import section:
- Select the first scanned .csv document and select Open.
- The NHS/CHI/H&C Numbers from the .csv file populate under Column0.
- Right click Column0 and select a header for the column, for example, select NHS Number.
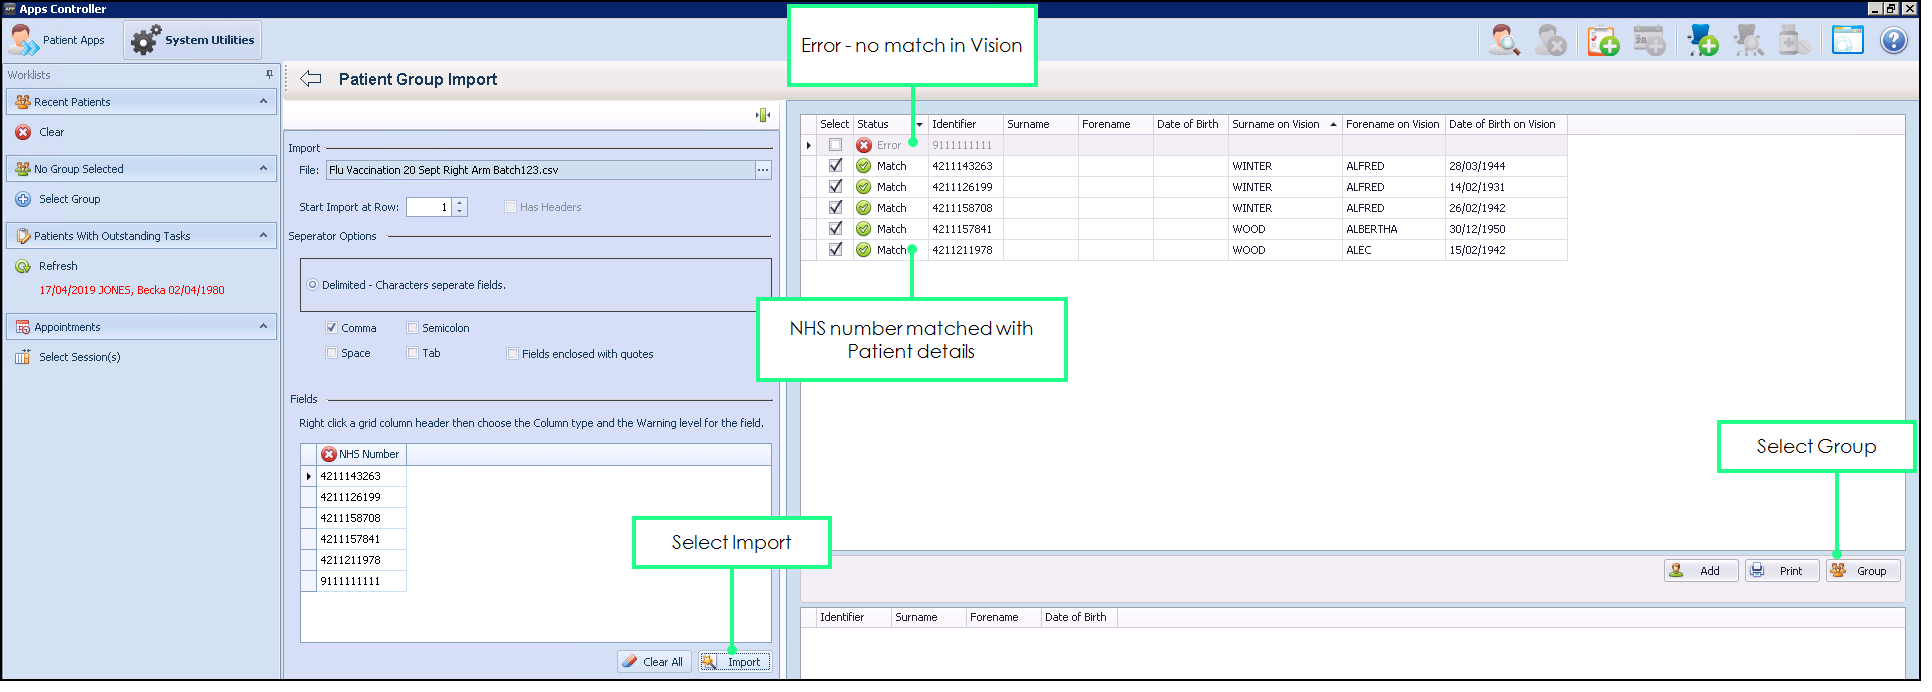
- Select Import:
- The NHS Numbers display with the patient details from Vision 3.
 - A green tick displays where there is a patient match and the patient details display to the right.
 - A red cross displays if there is not a patient match and the number is removed from the selection.
- Select Group to save this patient group.
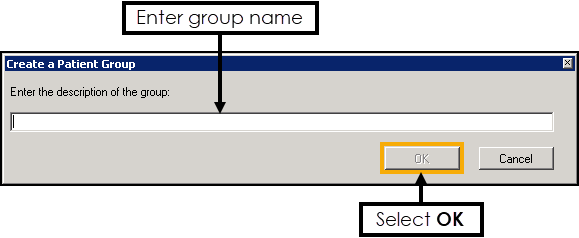
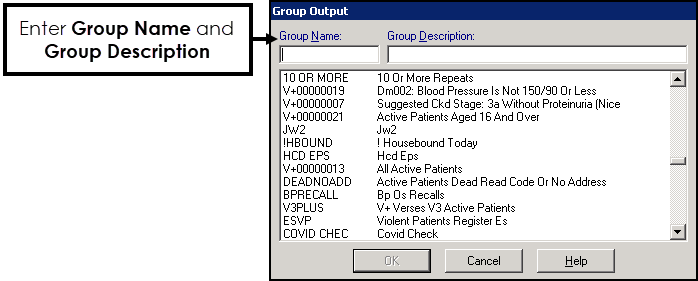
- Enter the group name, for example, "Flu Vaccination 20th Sept Right Arm Batch123" and select OK:
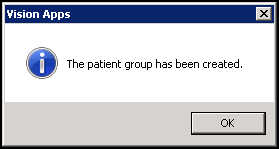
- The patient group is created:
Patient Group Review - Registered
You may want to check that all patients within the patient group are registered before importing the data.
To search on the group created in Apps Controller, for patients who are registered and active:
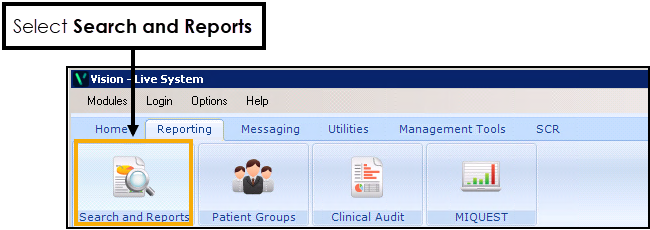
- From the Vision 3 front screen, select Reporting - Search and Reports:
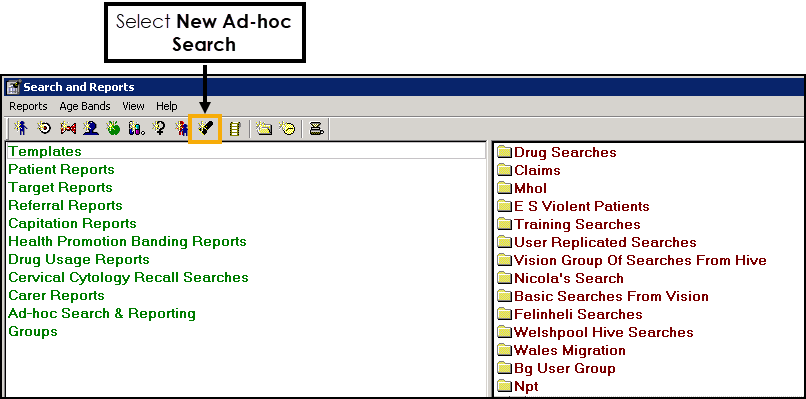
- Select New Ad-hoc Search
 :
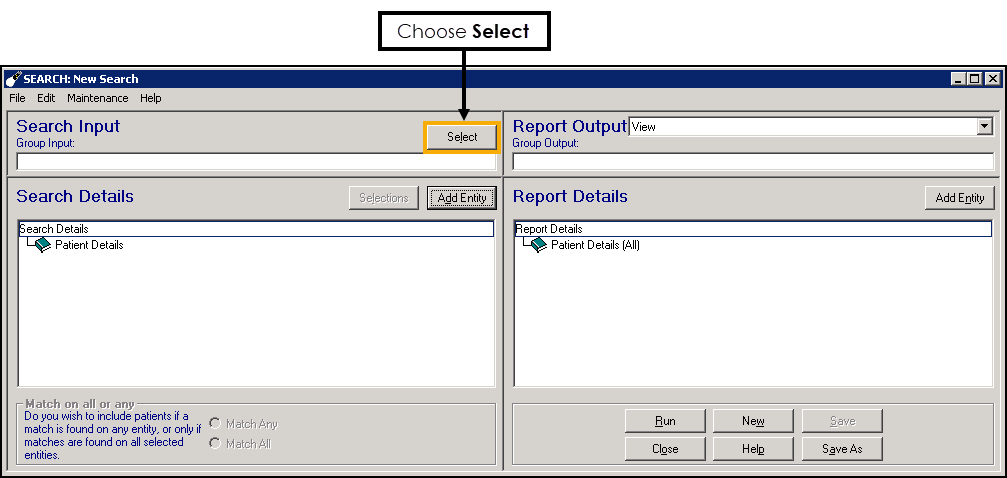
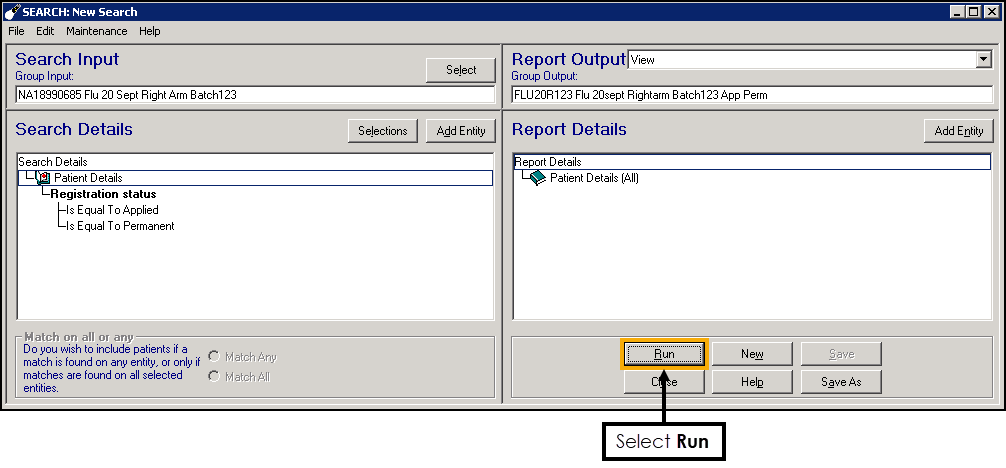
: - In the Group Input section choose Select:
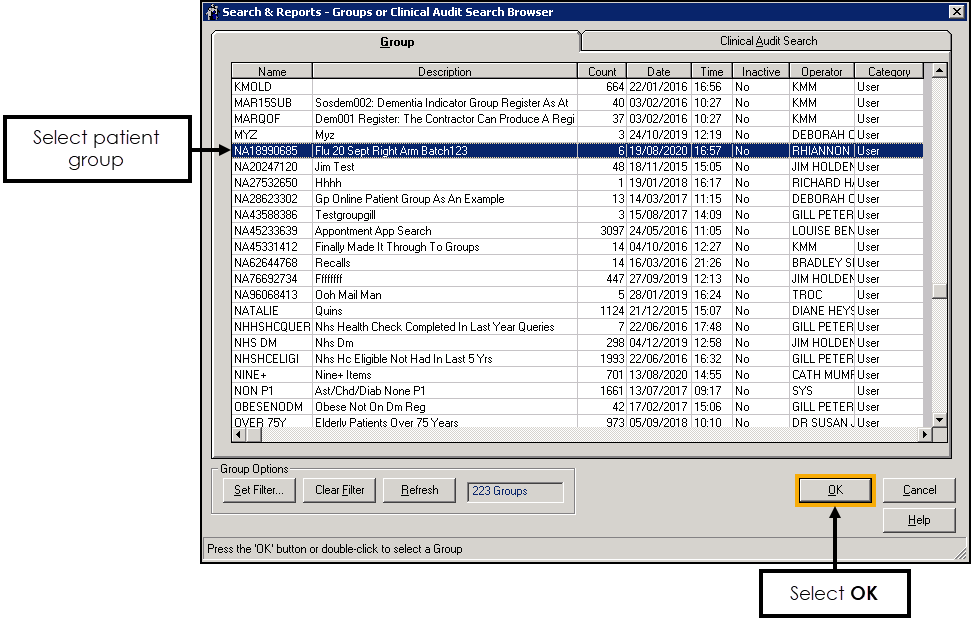
- Select the patient group from the list, for this example Flu 20 Sept Right Arm Batch123, and select OK:
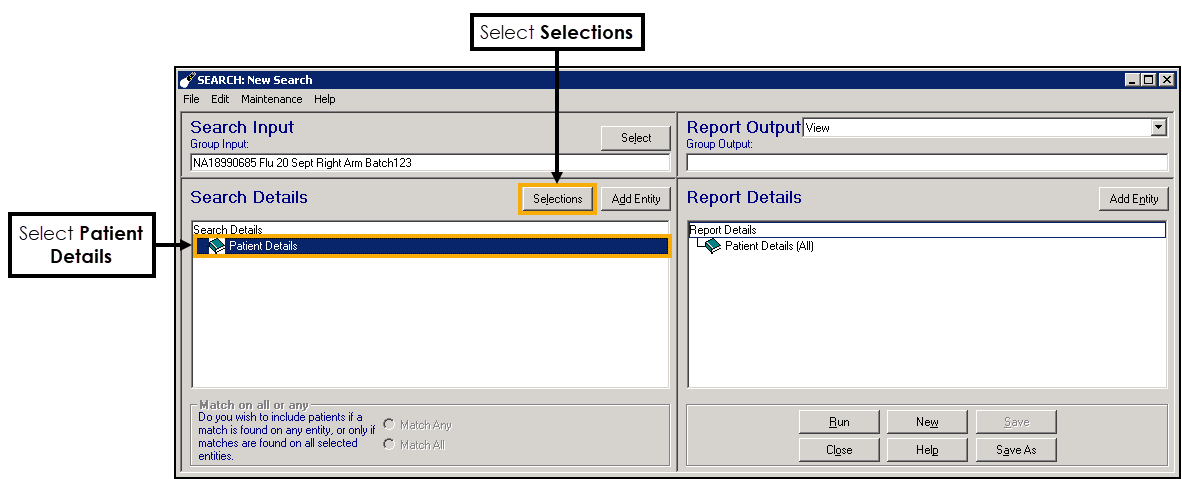
- Select Patient Details and then select Selections:
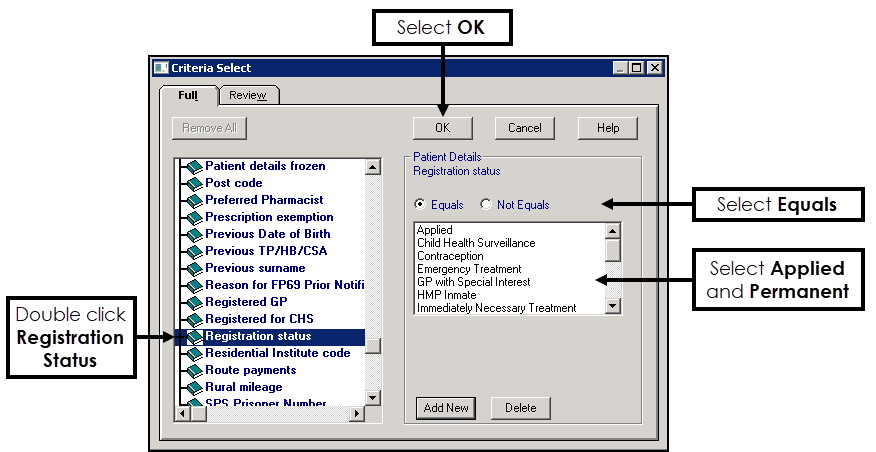
- Scroll down and double click on Registration Status:
- Make sure Equals is selected.
- Select Applied and Permanent.
- Select OK.
- Double click in the Group Output section to create a new group. Enter a new Name and Description, for example, FLU20R123 Flu 20Sept RightArm Batch123 App Perm and select OK:
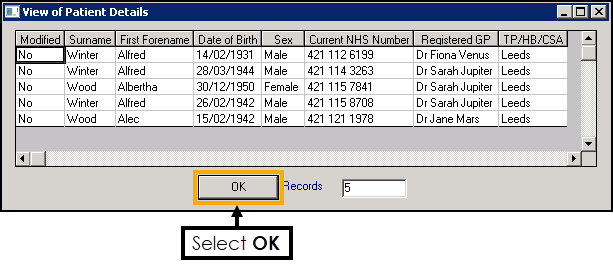
- Select Run to show the list of patients from the patient group that are permanent or have applied to the practice:
- Select OK to close the patient list:
- Close the New Search screen.
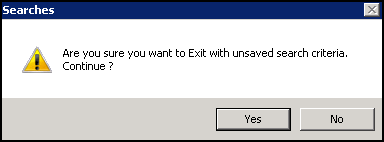
- A message "Are you sure you want to Exit with unsaved search criteria. Continue?" displays, select Yes:
- The new patient group can now be seen in the Patient Groups screen.
To check for patients that have left you practice since invitation:
- From the Vision 3 front screen, select Reporting - Search and Reports:
- Select New Ad-hoc Search:
- In the Group Input section choose Select:
- Select the patient group from the list, for this example Flu 20 Sept Right Arm Batch123, and select OK:
- Select Patient Details and Selections:
- Scroll down and double click on Registration Status:
- Select Equals.
- Select Transferred Out.
- Select OK.
- Double click in the Group Output section to create a new group. Enter a new Name and Description, for example, FLU20R123T Flu 20Sept RightArm Batch123 TOut and select OK:
- Select Run to show a list of patients from the patient group who have transferred out since invitation:
- Select OK to close the patient list:
- Select
 to Close New Search.
 - A screen displays asking "Are you sure you want to Exit with unsaved search criteria. Continue?" select Yes:
- The new patient group can now be seen in Patient Groups.
![]()
![]()
![]()