Bulk Signing Electronic Prescriptions
The All Prescriptions view provides a multi-patient view of prescriptions which is accessed via Consultation Manager. This screen has three main purposes:
- To facilitate the bulk signing process after prescriptions are issued.
- To process items which need reviewing before signing.
- To facilitate the handling of message rejections.
To access the All Prescriptions view:
- From Consultation Manager select either:
- List All Prescriptions
 , or
, or - Consultation - List All Prescriptions
- List All Prescriptions
- List All Prescriptions changes appearance depending on the current state of prescriptions in the system:
- - No prescriptions in your workload and no errors.
 - There are prescriptions in your workload.
 - There are rejected items detected
-
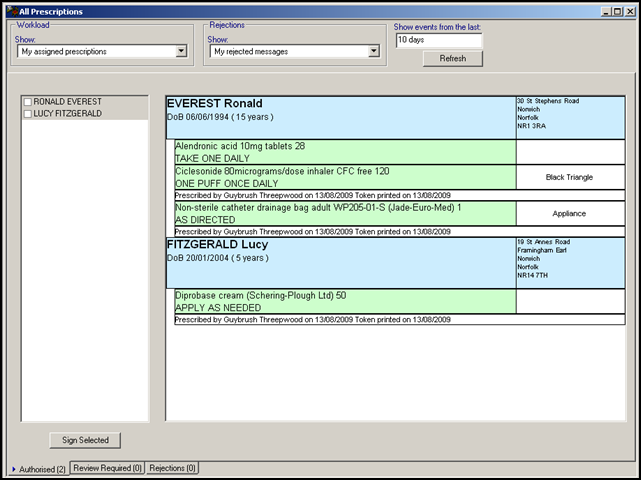
The All Prescriptions screen displays, tick the patient required and their demographics and prescription details display:
-
From the All Prescriptions screen you can select from the following options to display the prescriptions you require:

- Workload - Select from:
- My Assigned Prescriptions - Unsent prescriptions where you are the assigned clinician.
- All Prescriptions - Unsent prescriptions within your practice.
- All My Prescriptions - Unsent prescriptions where you are the assigned or sign by clinician.
- Assigned to - Select a name to display unsent prescriptions for specific clinicians.
- Rejections - Select from:
- My Rejected Messages - Rejected messages sent by the current user.
- Assigned to - Select a name to display rejected prescriptions for specific clinicians.
- All Rejected Messages - Rejected messages sent by any clinician.
- Show Events from the last - Enter a date range for the workload and rejected views. The default is the last 10 days, update as required to anything between the last 5 days and 10 years.
- Refresh - Select to refresh the view on the current screen.
- Workload - Select from:
- Check each prescription, ensuring you scroll down to the bottom of the list and select Sign Selected.
- The Apply Advanced Electronic Signature screen displays, enter your Smartcard Passcode:
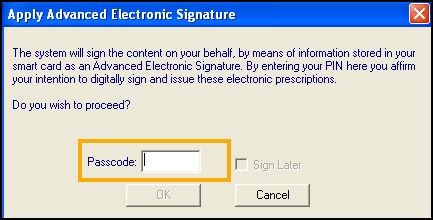
- Select OK and the Finalizing Prescriptions screen displays while the prescriptions are digitally signed and send:
 Note - If you select Cancel to halt the operation, the process stops after the current prescription processes, no further prescriptions are sent.
The signed prescriptions no longer display.
See Authorised Tab - Bulk Signing for further details.
Note - To print this topic select Print  in the top right corner and follow the on-screen prompts.