Creating and Using a Test Patient
Creating a Test Patient enables you to create a patient that you can exclude from any of your statistics or reports allowing you to use them for practice and testing purposes.
To add a test patient:
-
From the Vision 3 front screen, select Registration.
-
Select New Patient
 .
. - The 'Add Member to an existing Family' message displays, select:
- Existing - If the new patient is being added to an existing household, select any member of the household with the same address.
- Selected - If a member of the family you are adding this patient to displays at the top of the screen. Most common when adding a family group or a new baby.
- New - If the patient you are adding has no connection to anyone on your Vision 3 system.
-
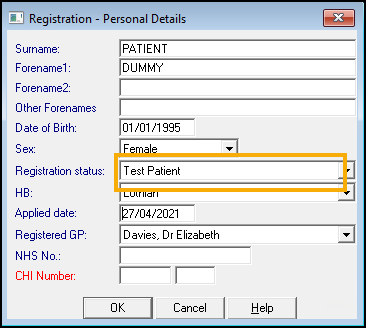
The Registration - Personal Details screen displays.
-
Complete as required, ensuring that in Registration Status you select Test Patient:
-
The New Patient Registration message displays, select Yes to continue.
-
The Registration Details screen displays, complete as required.
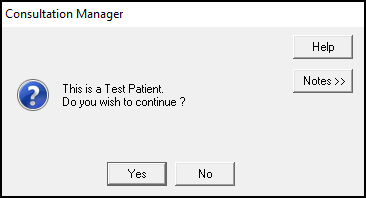
Every time you select a test patient anywhere in Vision 3 the 'This is a Test Patient' warning displays:
Consultation Manager
In Consultation Manager, if you select a test patient TEST PATIENT display in the patient banner:

-
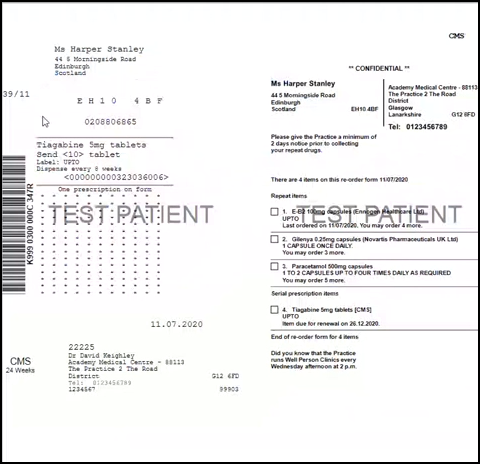
Therapy - If you select to issue and print a prescription for a test patient, TEST PATIENT prints across the pages, for example:
-
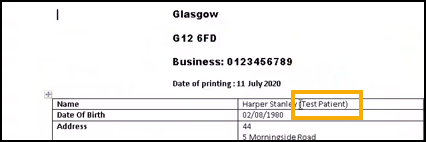
Correspondence - If you add a letter to a test patient using the Vision 3 templates, '(Test Patient)' displays after the patient name, for example:
-
MED3 Doctor Statement - If you create a MED3 for a test patient, a 'TEST PATIENT' watermark prints across the MED3 form.
Search and Reports
Within an Ad-hoc report, you can now select Test Patient from Patient Details - Selections - Registration Status.
If you choose to include test patients in your report, '*THIS REPORT CONTAINS TEST PATIENTS*' displays on the top of any printed report.