Adding Clinical term Group Rows to the Template
The Clinical term Group Row offers a very simplistic tool for selecting a single clinical term from a group of possible clinical terms. The appearance of the clinical term Group Row will differ, depending on the following:
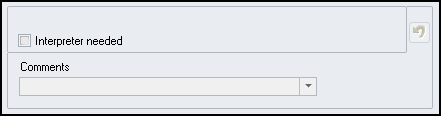
- If a single clinical term is defined for the group - the row is presented as a checkbox (shown below).
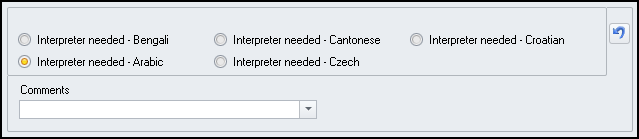
- If multiple clinical terms are defined for the group - the row is presented as a toggle option group (shown below).
Unlike the Codeset Row, the major disadvantage of using the clinical term Group row is that there is no option to view historical data. Therefore, this tool is only useful where you would need to record a 'one-off' item and not have to view the history.
To add a clinical term Group Row:
- In the Home tab, select Add Read Code Group Row
 from the Controls area of the toolbar.
 - The row will already be highlighted so use the keyboard and type a meaningful name or description for the new group.

- Select Codeset
 to assign your clinical terms.
 - The clinical term search screen displays allowing you to search for clinical terms, either by keyword or by the actual clinical term.
- Type in a keyword description, or the specific clinical term that you want to search for and select Search.
- A list of matching clinical terms displays in the left-hand column. You can use More Detail
 and Less Detail
  to browse through the hierarchy for the clinical term. If the clinical term you want does not display in the search list, simply type another keyword or clinical term and select Search again.
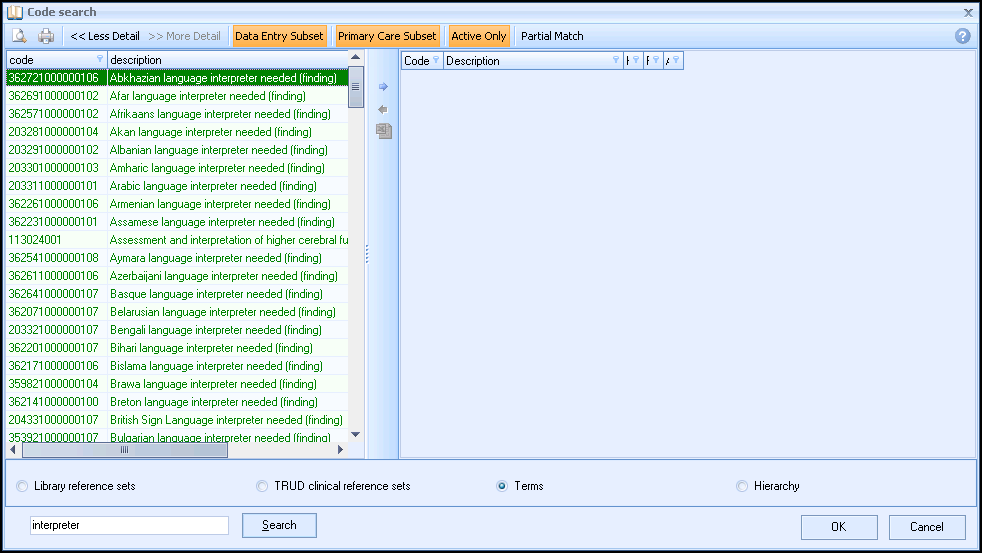
- From the left-hand column, select to highlight the clinical term you want to use for the data entry field.
- Select Insert
 .
.The clinical term you select is added to the column on the right-hand side of the window. You can repeat this process and continue adding as many clinical terms as you like to the right-hand column. If you make a mistake and want to remove a clinical term, select to highlight the clinical term in the selected list and select Remove
 .
.If you want to use all of the clinical terms within a specific hierarchy, select the top level clinical term first and then select the Chapter checkbox for the code. If you want the clinical term to be displayed in the primary list make sure the Preferred checkbox for the code is checked, otherwise it displays only when the More button is selected.
If you want to only show the history of a clinical term, without allowing the clinical term to be added then make sure the Apply checkbox is cleared. By default the Apply checkbox is checked, which means that users can view and add in the clinical term through the template.
- When you are happy with the clinical terms that you have chosen, select OK.
- You can also do one or more of the following:
- Set the code to be automatically selected by selecting the Auto Select checkbox.
- Show or hide the Modifiers and Comments fields, by selecting the Show Modifier/Comments checkbox.
- Specify standard free-text entries for the Comments field. This can be used to quickly insert common entries, or to help prevent typographical errors and spelling mistakes. For more information see Adding Default Comments.