Adding a Warfarin Diagnosis Indication
You can add a Warfarin Diagnosis Indication to a patient either through Practice Reports or Consultation Manager:
Accessing the INR/Warfarin Diagnosis screen from Practice Reports
To access the New INR/Warfarin Diagnosis screen from Practice Reports:
-
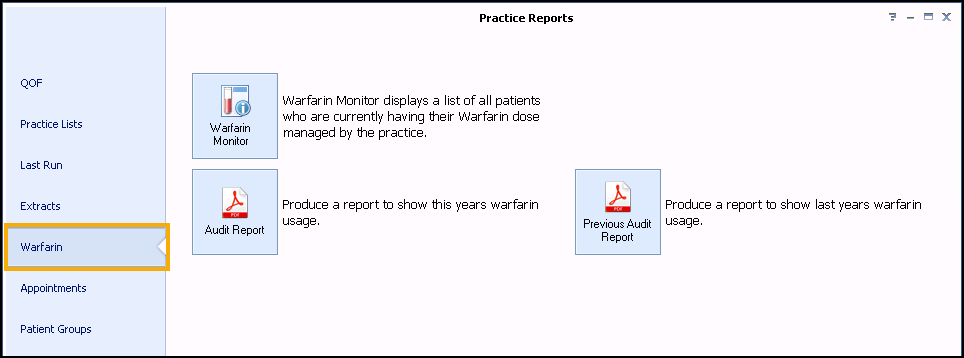
Select Warfarin - Warfarin Monitor:
-
The Warfarin Monitor screen displays:
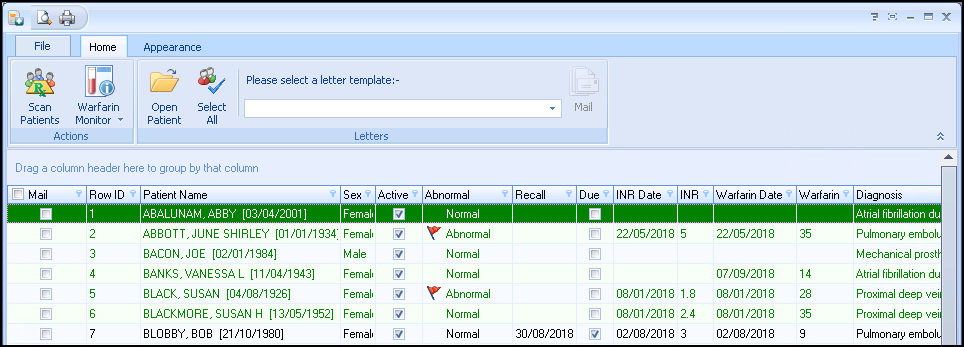
Select Scan Patients
 .
. -
The Warfarin Monitor screen displays a list of patients who are currently being prescribed Warfarin but do not display on the Warfarin Monitor list as they do not have a current Indication recorded. Double click on a patients name to add a diagnosis indication.
-
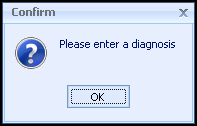
A Confirm screen 'Please enter a diagnosis' displays:
-
Select OK.
-
The New INR/Warfarin Diagnosis screen displays, see New INR/Warfarin Diagnosis screen.
Accessing the INR/Warfarin Diagnosis screen from Consultation Manager
To access the New INR/Warfarin Diagnosis screen from Consultation Manager:
- Open the patient in Consultation Manager.
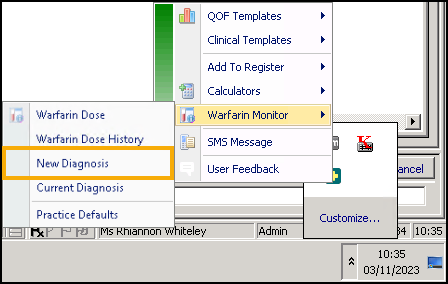
- From the Windows Notification Area, right click Vision+
 and select Warfarin Monitor.
 -
Select New Diagnosis:
-
The New INR/Warfarin Diagnosis screen displays.
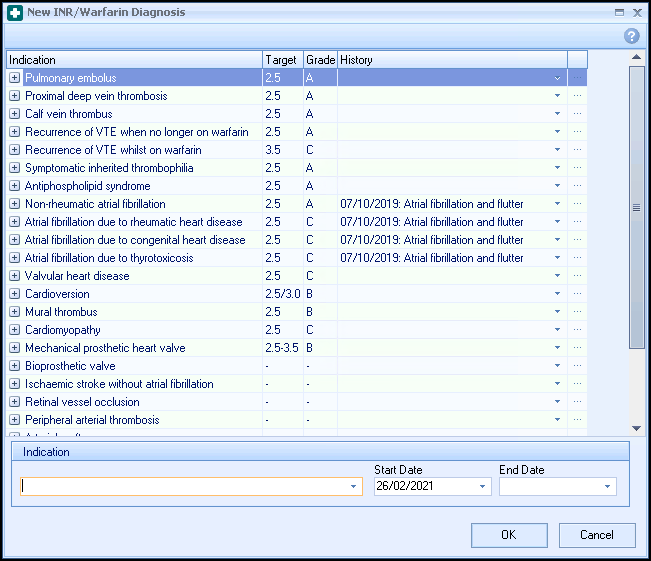
New INR/Warfarin Diagnosis screen
Relevant Diagnosis clinical terms for the patient display in the History column:
-
Select History
 alongside the clinical term you wish to use.
 -
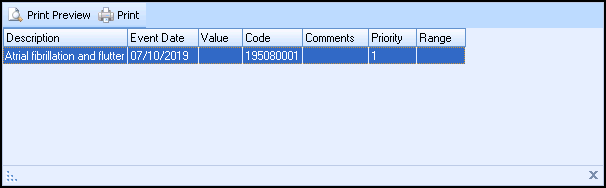
Historical clinical terms display:
-
Double click on the relevant clinical term.
-
The corresponding indicator displays in the Indication section of the New INR/Warfarin Diagnosis screen with the Start Date set to that of the clinical term:

-
Enter a treatment Enter Date if applicable.
-
Select OK.
The patient is removed from the current list (Scan Patients) and displays in the initial Warfarin Monitor list as a result of them having a current diagnosis indication.