Uploading Templates
To upload a Vision+ Template for distribution to other Vision organisations.
-
Log in to Vision 3 as usual.
-
From the Windows Notification Area, right click Vision+
 and select Template Designer.
 -
To open an existing template, select Open
 .
. -
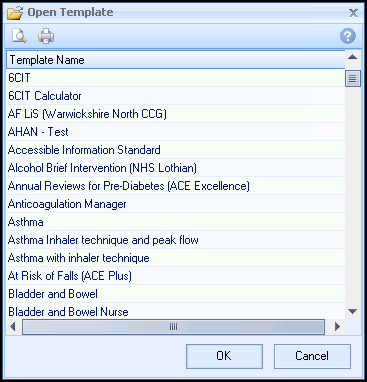
Choose the template from the list and select OK:
 Note – For advice on how to create Vision+ template see Create a New User-Defined Template.
 -
From the home page, change the template status to Publish.
See Changing the Status of Templates for more information. -
Select the Distribution tab.
-
The distribution screen displays:
 Note - If the template status is Test or Develop the warning message 'The template status must be set to publish before uploading' displays.
 -
Select Upload. The version and name of the template displays. To continue with the upload, select Yes:

If you have previously uploaded the template, the warning message 'Template Name has already been uploaded - upload new version?' displays. Select Yes to continue and a new version is uploaded or select No to keep a local copy of the template.
Training Tip - If you do not want to upload and override an existing template you can either rename it by selecting File - Rename or if you want to create a copy of the template choose File - Save As. -
Once uploaded, a confirmation message displays with the version and name of the template. The template is automatically uploaded to a group called “Practice Templates”.