Add Sessions
Sessions can be added and deleted as required in the Reception View.
- Navigate to the date you wish to add a session.
- Select the Command menu from the top right of the Reception View.
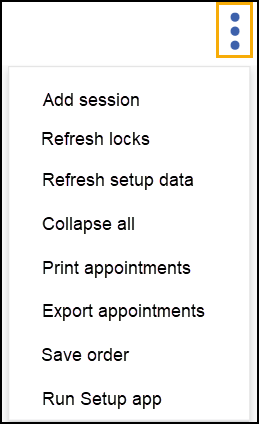
- Select Add Session.
The Add Single Session window displays. - Select the book Owner from the drop down list.
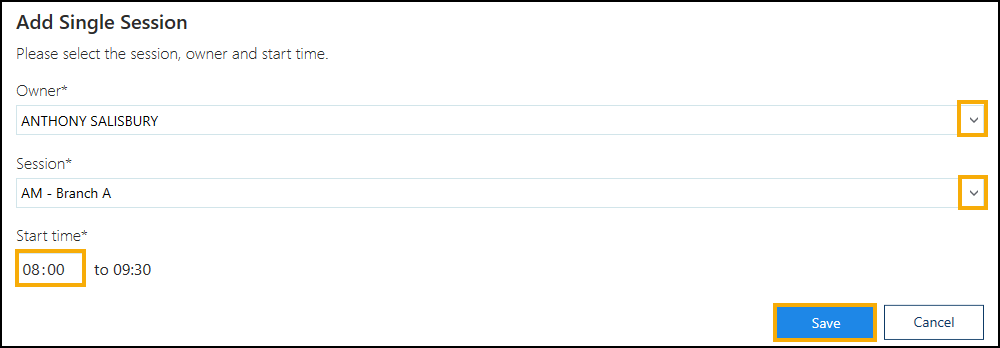
- Select the Session from the drop down list.
- Enter the start time of the session.Note - This must be after the current time, if the session is for today.
- Select Save
 .
.
The view updates with the new session.Note - If the new session clashes with an existing session, an error displays "Unable to Add Session". Select OK to return to the Add Single Session pop up to select a new time.
See - Delete Session.
Session Management (1:05)
Note – To print this topic select Print  in the top right corner and follow the on-screen prompts.