Creating a Task
Tasks can be created from:
To add a task:
- From Consultation Manager
 , select the patient in the usual way.
 - Select Tasks- Add New Task:

- Tasks automatically opens, the New Tasks screen displays and the selected patient details populate automatically. If you want to select a task template, you need to close the New Task screen, select Templates
 and then select the appropriate template.
To add a task from a reminder in either Consultation Manager or our legacy Appointments system  :
:
- Simply right click on the reminder and select Add task.

- Tasks automatically opens, the New Tasks screen displays and the selected patient details populate automatically. If you want to select a task template, you need to close the New Task screen, select Templates and then select the appropriate template.
From any task screen within Tasks, select New task  .
.
- The New Task screen displays:
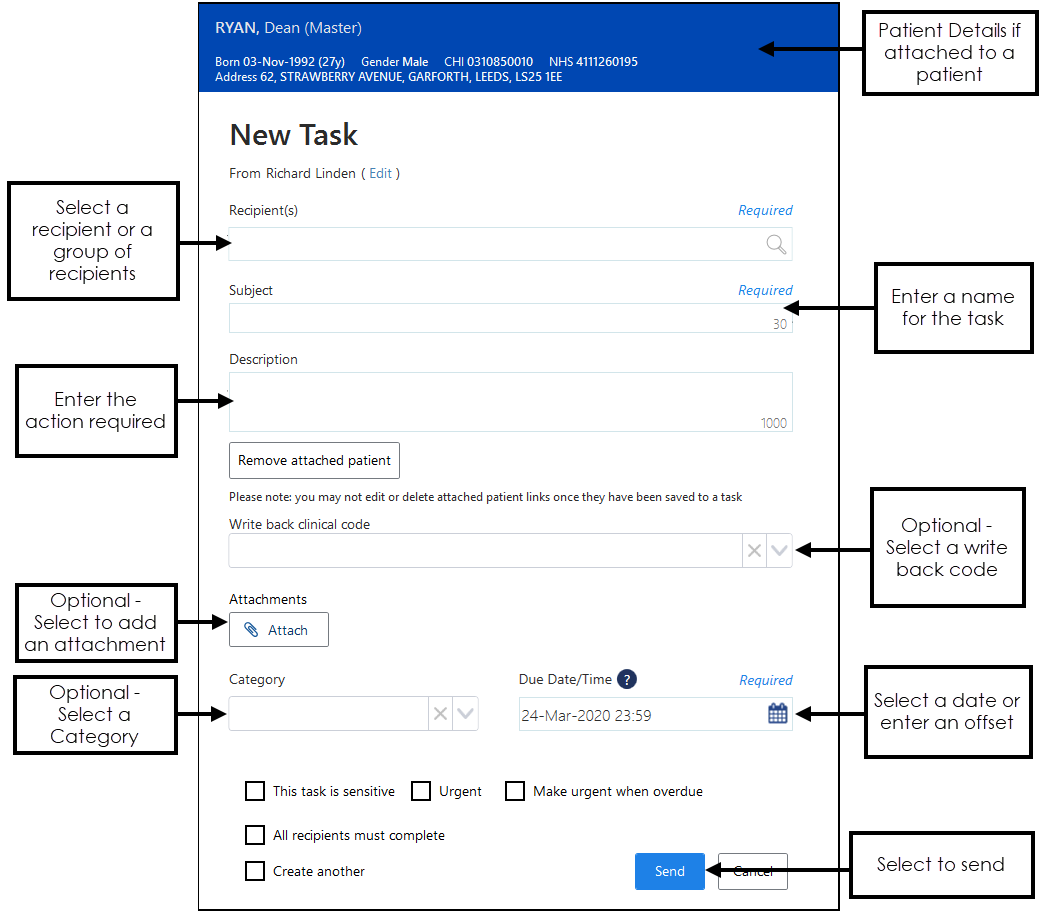
- Complete as required:
-
From (optional) - If you are creating this task on behalf of a group of staff you are a member of, select Edit and select the appropriate group.
-
Recipient(s) - Select the recipient of this task, this can be one or more individual members of staff, yourself to act as an aid memoir or a staff group, simply start typing and a smart list displays to select from.
Note - You can select ALL USERS to send a task to every member of staff. -
Subject - Enter a short description of the task, up to 30 characters, this appears in the My tasks list of the recipient.
-
Description - Enter a full description for the task, up to 1000 characters.
-
Attach patient (optional) - Select
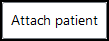 to attach a patient:
-
The Search for patients screen displays, type the patient name (either in full or part), press return or select Search
 . A list of matching patients displays, select the patient required. Select More Patient Info
 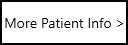 for further demographic information:
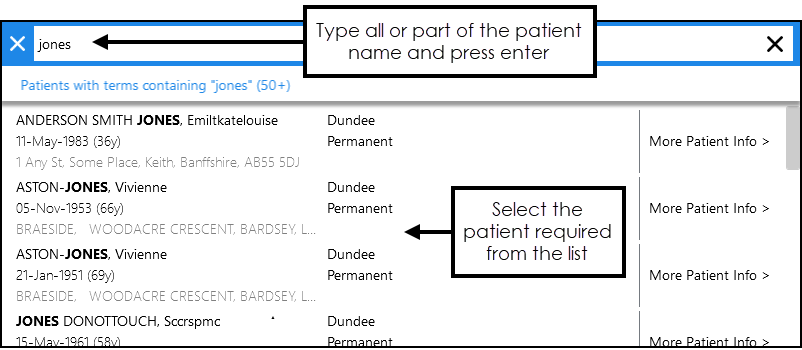
-
- Write back clinical code (only available if a patient is attached) (optional) - Select a clinical code from the list available to write back to the patient record when the task is completed, see Writing Back Clinical Codes for details.
- Attachments (optional) - Select Attach
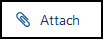 to add an attachment to this task, see Adding Attachments for details.Note - There is a 2MB file limit for attachments.
 - Category - Select from the pre-defined list, this facilitates the ability of the recipient to filter tasks allocated to them.
- Due date/Time - Defaults to today's date. If required, select a date that this task should be completed by, either selecting the Calendar
 and then a date or enter an offset time frame using the usual d=days, w=weeks, m=months or y=years short hand, for example, 2d = 2 days.
 - This task is sensitive - Tick to mark a task as sensitive, if selected only the sender, recipients and system supervisors can see the full details of the task.
- Urgent - Tick if this task should be marked as urgent. If Make this urgent when overdue is already selected, this option is not available.
- Make this urgent when overdue - Tick if the priority of this task should increase when overdue. If Urgent is already selected, this option is not available.
- All recipients must complete (optional) - If this task is going to a group of recipients, tick to request they all complete the task as opposed to just one of them.
- Create another - Tick to automatically start another new task when you select Send.
-
Select Send to save and send the task.
- A 'Task was sent successfully' message briefly displays at the bottom of your screen.
and then select the appropriate template.View the following video to see how to create a task:
Creating a Task (1:48)