Uploading Patients from Emis to Vision 360
In order to have access to all the Emis patient data available within your shared care setting, you must upload it to Vision 360. You should run an initial upload and then a daily update.
To upload and update your patient list to Vision 360:
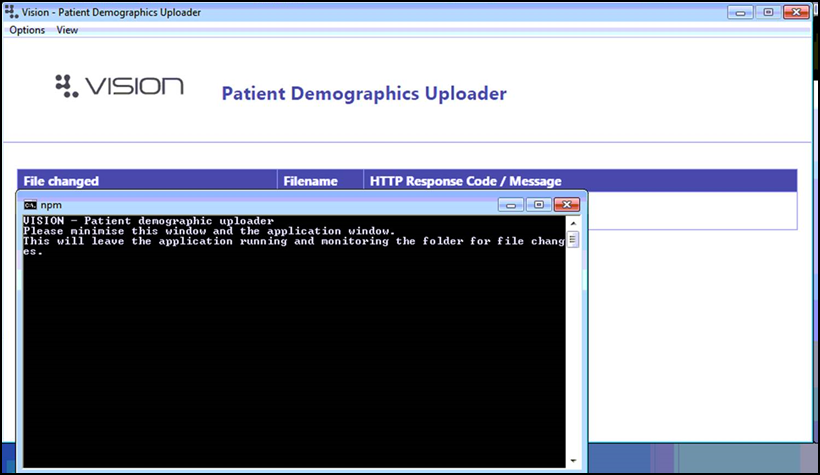
- From your desktop, double click Patient Demographic Uploader
 .
. - The Vision - Patient Demographic Uploader and npm screens display:
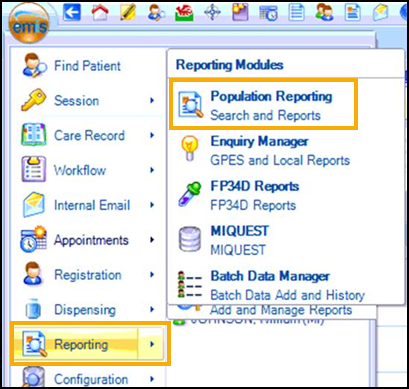
- Open Emis Web, if it is not already open and select Reporting – Population Reporting:
- Double click the INPS or Vision folder and the INPS/Vision – Patient Report displays:
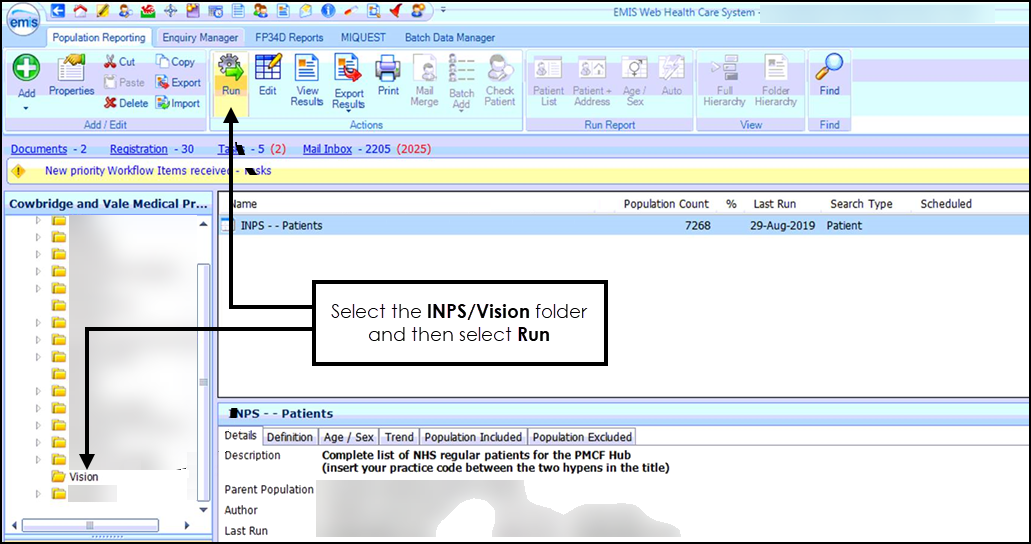
- Select Run
 .
. - Once the report completes, select View Results
 .
. - The INPS - Patients tab displays, select Export
 .
. - The Export Report screen displays, select CSV:
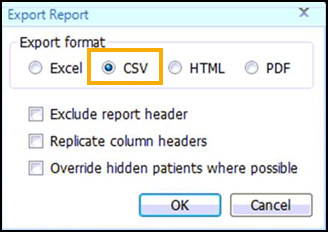
-
Select OK.
- The Save As screen displays, navigate to C:\Vision\vision_upload\upload_files and double click on any existing report in this folder to overwrite it.
- The Confirm Save As screen displays, select Yes to confirm.
- The upload of your patient demographic starts. This takes approximately 15 minutes to complete, you can view the process by selecting Vision from your task bar, today's date, time and the response code of Waiting should display, this updates to OK once successfully completed:

- Once the upload successfully completes, you can close the Vision - Patient Demographic Uploader and npm screens.
Once the file is exports the Vision Client automatically uploads it to the central system and processes your patient demographics.