Adding and Removing Users and Groups from Vision Functions
Within Control Panel - Security, the quickest way to add a user or group to a Vision Function is to click, drag and drop a user or group from the left pane on to the required Vision Function on the right.
Alternatively, from within the Vision Function pane, right click the function required and select either:
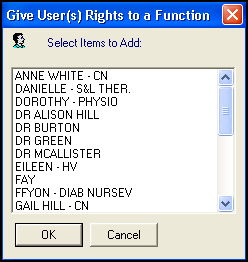
- Add User(s) to Function – Select the individual user(s) to be added to the function.
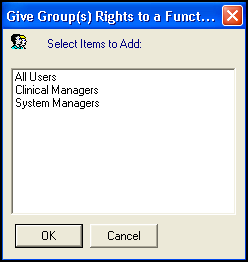
- Add Group(s) to Function – Select the group to be added to the function.
To remove a user or group from a Vision Function, highlight the user or group, right click and select either:
-
Remove User from Function, or
-
Remove Group from Function.
An example of restricting access to a Vision function:
If for example you want to allow access to Registration for some staff, so they can register permanent and temporary patients, but you do not want these staff to access the Security transactions, as this allows them to deduct patients.
- From the Vision 3 front screen, select Management Tools - Control Panel - Security.
- Create two groups:
- A group of users who can access everything in Registration, and
- A group who can update records but cannot access Security transactions in Registration.
- On the right-hand side under Vision Functions , select and expand the Registration section. By default, the group All Users is immediately below, unless you have previously altered this.
- Right click on All Users and select Remove Group from Function.
- Right click on All Users again and add in the group who are allowed to do everything.
- Select Registration - Read Only, to expand that section and then right click on Update Patient Records and select Add User to Function, or Add Group to Function, and select your restricted group.
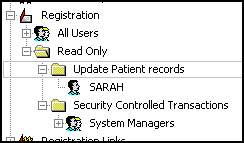
- Select Save.
For the users in the restricted group, Security (Transactions) no longer displays in Registration, but they can still update and add patient details.