Creating an EMIS User at Practice Level
Note - Before creating a new user run a search to ensure the user does not already exist, see Searching for Users, Services and Sharing Agreements for details.
To create an EMIS User at your practice:
- Open your browser and access Vision360 using the URL provided by the Cegedim Healthcare Solutions implementation team.
- Log in to Vision360 by entering your user name and password and select Sign In.

- From Please select a Role at a Service, select Systems Support Access Role:
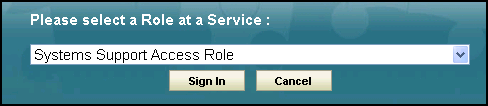
-
The Vision360 home screen displays, select Organisational Services
 .
. - The Service Details screen displays.
- Check to see if the user already exists, see Searching for Users, Services and Sharing Agreements for details.
- Select Create User
 and the Add User screen displays:
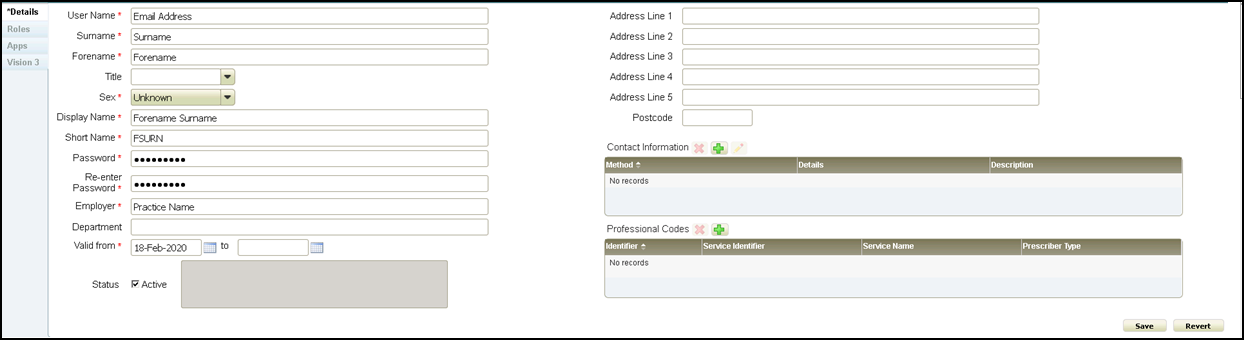
- Complete as follows:
- User Name - Enter the users email address.
- Surname - Enter the user's surname.
- Forename - Enter the user's forename.
- Short Name - Enter the first letter of the users forename followed by the first 4 letters of their surname, for example, John Brown would be JBROW.
- Password - Enter a password for this user.
- Re-enter Password - Enter the password again to confirm.
- Valid from - Defaults to today, update if required.
- Status - Tick Active.
- Select Save
 to add the user.
 - Now, select your practice tab from the top of the screen and select User Roles.
- From Users, select Add and then select the email address of the person you are adding.
- Tick Clinical Practitioner.
Note - If you need federated permissions, you need to be elevated by the federation system support account user. You can have different roles depending on what role you need, for example, clinicians have federated practitioner and practice access (mobile) access roles, receptionists are set up as federated practitioners and then have business activities removed so they cannot have read/write access to patient records, see Allocating User Services and Roles for details.
Note - To print this topic select Print  in the top right corner and follow the on-screen prompts.