Adding Cervical Cytology
To record a smear has been taken:
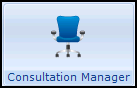
- From Consultation Manager
 , select the patient required and start a consultation if required.
 - Select Add - Cytology, remember you can press Alt+A then Alt+Y if you require.
- The Cervical Cytology - Add screen displays:
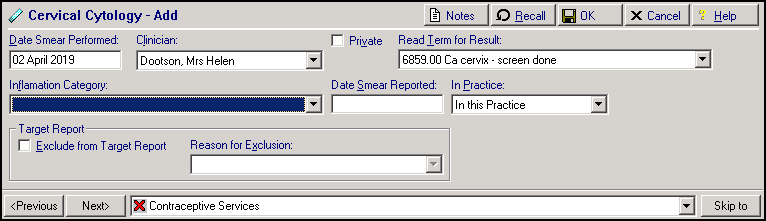
Complete as follows:
- Date Smear Performed - Defaults to today's date, update as required.
- Clinician - Defaults to the staff member or GP signed on for the current session, update as required.
- Private - Defaults to unticked, tick if you are recording a private consultation.
- Read Term for Result- Defaults to 6859.00 Ca cervix - screen done, update if required.
- Inflamation Category - Defaults to <None>, update if known.
- Date Smear Reported - Defaults to <None>, update if known.
- In Practice - Defaults to In this Practice, update if required.
- Target Report:
- Exclude from Target Report - Tick if this patient should be excluded from the target reports.
- Reason for Exclusion - Select a valid exclusion reason if appropriate.
- Notes
 - Select to add free text if required.
 - Recall
 - Select to add recall dates if required.
- Select OK to save and close.
Other ways to add blood pressure entries include:
- Vision + alert window
- An existing cytology entry - Simply right click on the entry and select Add.
Note - The quickest way to record a smear has been taken is to select Add - Cytology and then simply select OK. This record needs to be edited when the result is received.
See Recording a Smear Result for further details.
Note - To print this topic select Print  in the top right corner and follow the on-screen prompts.