Reception View - Overview
Navigating the Reception View (2:51)
The Reception View displays when you log in to Appointments. It displays the clinician and clinic sessions side by side, to display appointments at a glance:
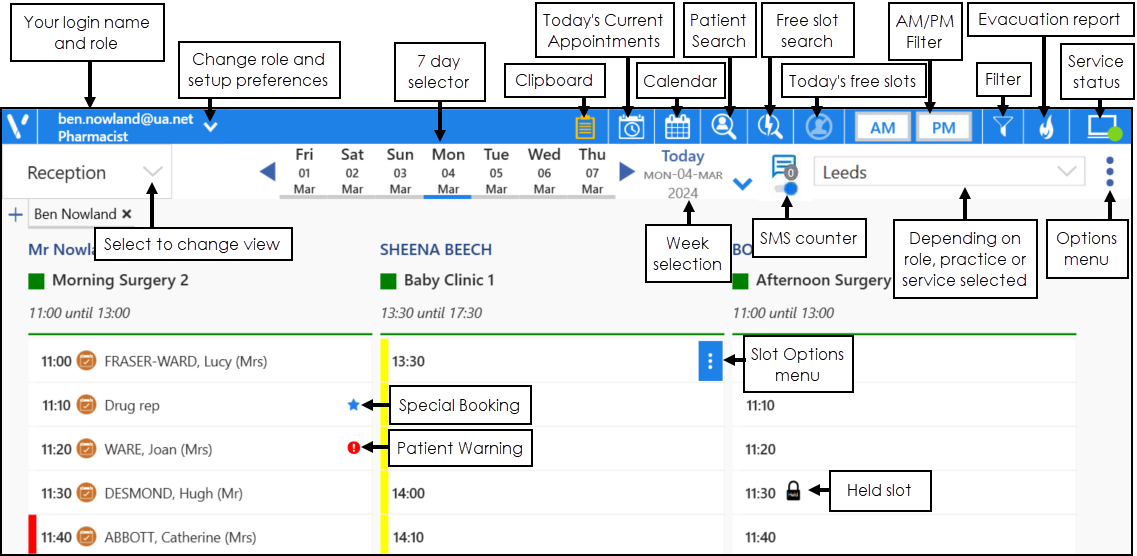
From the Reception View, you can select:
- AM or PM
- Seven day date range
- Calendar
- Skip to 'n' weeks - Today, +1 to 6 weeks, previous week.
- Filter - See Applying or Editing Filters for details.
- Free slot - See The Free Slot Search for details.
- Scroll, to access more appointments.
- Appointment status - select status to check patient in or increment status.
- Events - display under the Clinician's name.
- View Menu - easily navigate to other views.
- Command Menu - add sessions, refresh the view, expand/collapse, print options and save order.
- Clipboard - quickly reschedule appointments.
- SMS Messages - See SMS Messaging (Shared Care) for details.
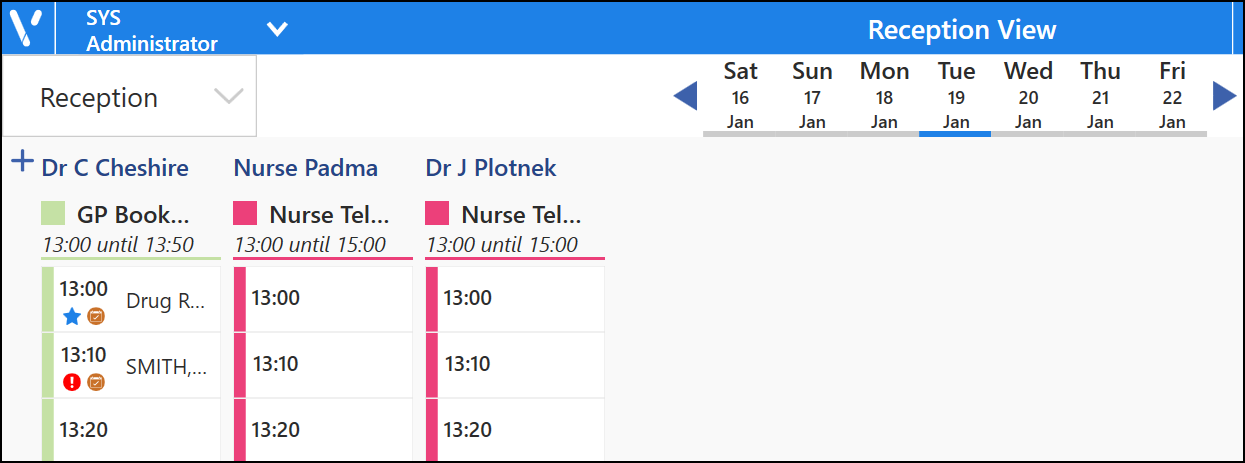
To show all the columns on your screen, select Options  - Collapse All. Select Expand All reverts to the default view.
Alternatively, select each column's owner individually to expand or collapse:
Training Tip - Filters can also be applied per user to the Reception View.
Note - To print this topic select Print  in the top right corner and follow the on-screen prompts.